 Matt and I have been making great progress over the last month- and I am starting to see the light at the end of the tunnel! One of the projects I was really excited about trying was painting the old wood subfloor. It seemed like a great option for us- and I was pleasantly surprised with how smoothly it went. Today I am partnering with Killz Paint to bring you this tutorial on how to paint wood floors.

This is a very large area! It may be a little tricky for you to fully understand the layout, but I will be sharing a video walk through of the whole space this week. The room that we painted is the creative workshop zone- which has been dubbed “The Loft.” The floors are plywood subfloor that were quite stained etc- but with some prep we were able to get great coverage and adhesion. I put together a video tutorial, as well as a photo tutorial for anyone who prefers that.
How to Paint Wood Floors
 Supplies
- cleaning materials (sand paper, vacume, and mop)
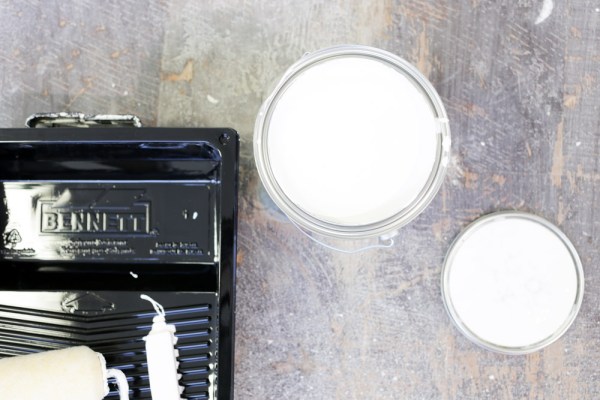
- roller
- paint tray
- brush
- oil based primer
- porch & floor paint
 For this project I used Killz Original Oil Based Primer, and Killz Porch and Floor Paint in Grey Mist (color matched from BEHR) The oil based primer was recommended to me because of the condition of the floors. It does a better job at sealing the wood, which will prevent any possible bleed through.
 Step 1: Prep the Floors
 It is very important that you properly prep and clean the floor prior to painting. If needed sand any rough areas and remove all dust.
Step 2: Prime the Floors
 Roll on the primer. Work in small areas, starting furthest from the door. It is best to try and keep a wet edge as you work. These old floors really soaked up the primer. I was a little bit nervous I hadn’t ordered enough paint, however the paint went much farther than the primer.


 I installed baseboards after -painting, so I didn’t have to cut in on any edges. If you have baseboards already installed then you will need to cut in along the edges with a brush prior to rolling.
Step 3:Paint the Floors
 After the primer has thoroughly dried, it is time to start rolling on the paint. Follow the application instructions for recoat and dry times. (I applied the paint then let the first coat dry over night, but I believe the recoat time was 4 hrs.) I applied two coats of the finished floor paint and was very happy with the coverage.
 Allow the floors to dry 72 hours before regular traffic. They will need 4 weeks to fully cure before they can be washed with mild soap and water.


Overall this was much more straight forward than I had anticipated, and it really cleaned up the look of the entire room! I will be sure to keep you guys updated on how they hold up. I would love to try out stencilling a floor at some point too… I love the look of those beautiful hand painted tiles I see popping up everywhere lately.
Painting the walls and floors in this room have brought it a long way… Here is a reminder of what we started with:  And here is a peek at what we are working on now…
Trim, tables, lights and chairs! It’s really starting to come together!
-Miss Ash
Watch the Web Series about this Project: