This is the final installment for our big stair revamp. The lino had to go! You can view phase one here, which is a DIY guide to painting your stairs. I must say that I am so thankful for my husband Matt who is always willing to tackle these projects with me! He really is my perfect match 😉 I’ll start you off with the transformation, and then you can see how easy it is!
Alright, enough of the mush! So, this is a rather simple project, and the cost depends on what you purchase for your runner. I actually used 3 packs of area rugs (2 in each package) from Superstore (of all places!) They were $12/pack. I was one foot short with purchasing 2 packs, so while it was a bummer that I had to get a 3rd pack, the total came to $36- which really is not bad! I entertained going with a cute aqua or red, but decided to go with some less loud and more complimentary to our tiles. I think it was a good choice.
For this project you will need:
- Area rugs to run the length of your stairs (we had 11 stairs and our rugs came to $36.)
- Staples/Air Compressor Gun (I had both of these these- $0)
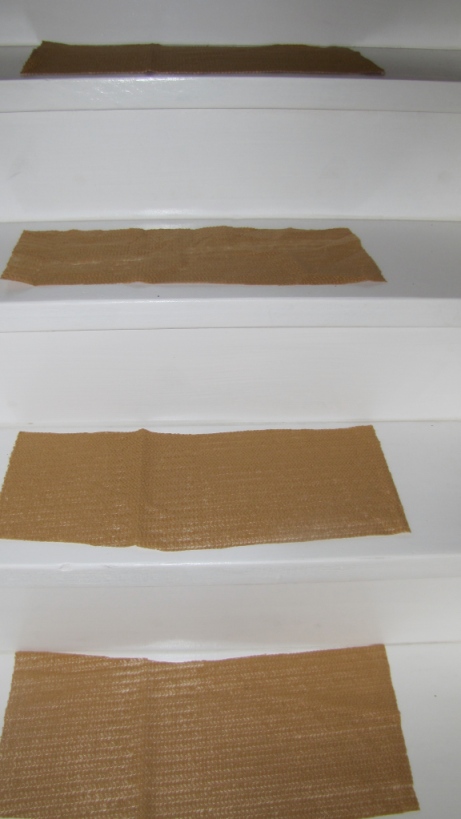
- Grip Mat (optional) (also had this left over from a package I bought to put pieces under our area rugs, not sure on the cost! sorry- $0)
Now when I had this crazy idea, I googled it… because I wanted to see if anyone had done it before, and I found a DIY at Loft&Cottage I am not too familiar with this blog, but wanted to mention it, as it got my wheels turning, and helped to give me the confidence for this project. I did mine a little bit differently, and my project was much cheaper. I chose not to use adhesive, and instead used a grippy mat for use under area rugs on hardwood etc… after all the scraping and scrubbing of the lino glue, there was no way I could bring myself to cover my freshly painted stairs in adhesive!
Matt and I tagged team the stairs going up, and then I did the stairs to the basement all on my lonesome. Yay for power tools 😉
So, let’s get started! (lots of exclamation marks because I am so excited about how easy this is, and how great the end result looks…)
A few tips before you get scrolling:
-
Remember to measure on either side of your rug and get it centred.
-
Pull the rug VERY tight, so that it does not bubble
-
I kept the air nailer at about 80PSI, and this seemed like a good pressure
-
You don’t have to be too precise when cutting the grip mat (as you can see) just make sure it does not show!
-
Be sure to trim a straight line if you need to transition to a new rug, or else your runner might start to go crooked!
-
That is all…
And that is all it takes to install a carpet runner! I think the key to this is using the right tool. It ends up being very fast… probably took 20-30 minutes per section of stairs… but mostly because we were interrupted 😉 I would definitely do this again! The great thing is, that if you tire of it… it didn’t cost to much, and it is only stapled (however very secure) so you could always switch it out in a few years if you so desire! If you try this, I’d love to see a picture of your end result!
-Miss Ash
More DIY & Design Projects


you did a SUPER job! I love it. Very nice,
This was very helpful. Your stairs look great.
Thanks Rhonda!
What size staples and what kind did you use? I’m hoping to tackle this project soon!! Your stairs look fantastic!
Hi Heather- I think they were 3/4″ narrow crown staples. Hope that helps!